Email Campaigns are a way to promote business and reach your audience and Mailchimp makes that possible. Here is a step-by-step guide on how to Create Email Campaign with Mailchimp.
What is an Email Campaign?
An email campaign is a sequence of marketing efforts that contacts multiple recipients at once. Email campaigns are designed to reach out to subscribers at the best time and provide valuable content and relevant offers. Using email campaigns allows you to build deep and trusting relationships with your customers.
How to Create Email Campaign with Mailchimp
Find below the step-by-step guide on how to Create Email Campaign:
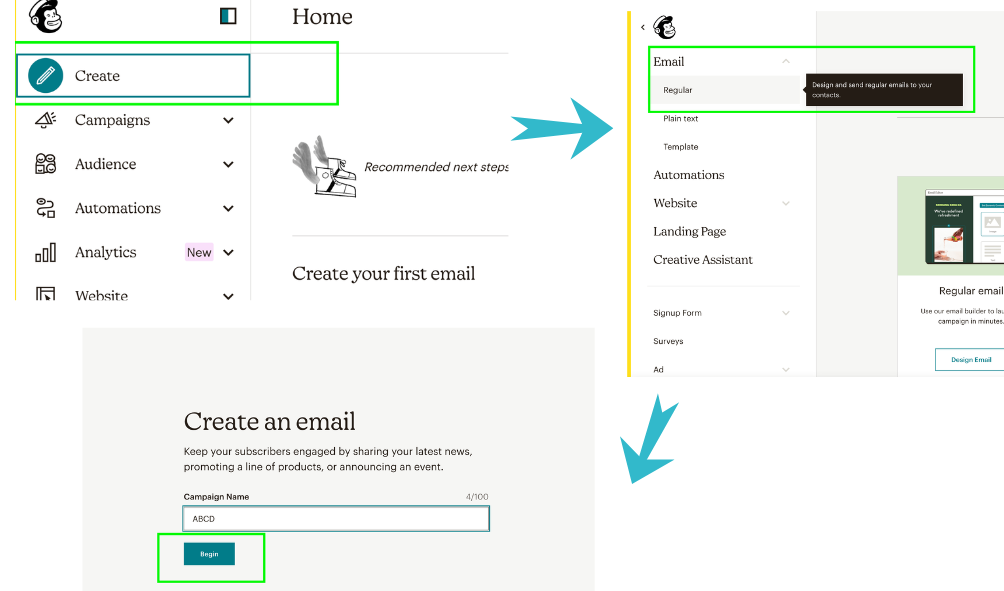
Create an Email
- Click the Create icon.
- Click the Email drop-down and Click Regular.
- Enter a campaign name and click Begin.
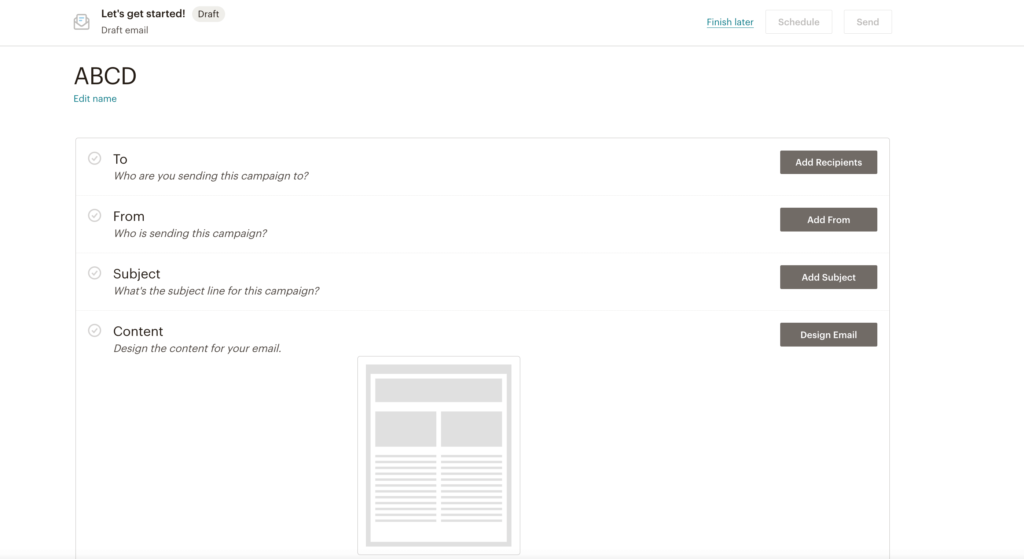
Setup and Design
MailChimp’s email builder is designed to let you work on the different parts of your email in the order you choose, and review everything at once before you send.
There are four main things to do before you click send.
- Add your recipients in the To section.
- Add your from name and from email address in the From section.
- Add your subject line in the Subject section.
- Design your email in the Content section.
As each task gets completed, a green checkmark will appear next to the corresponding section.
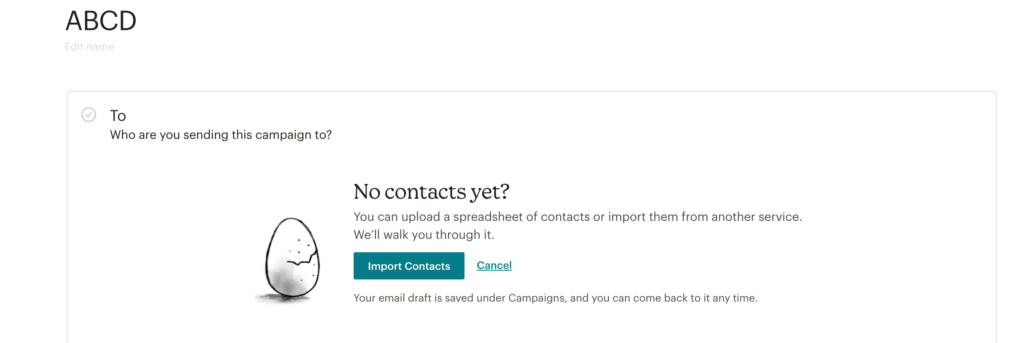
Add Recipients
To choose your recipients:
- In the To section, click Add Recipients.
- In the Audience drop-down menu, choose the audience you want to send to.
- In the Segment or Tag drop-down menu, choose All subscribers in audience, Group or new segment, or one of the available saved or pre-built options.
- Check the Personalize the “To” field box to display the recipient’s name instead of their email address. This is more personal and may help you avoid spam filters.
- Click Save.
Send to a Custom Segment or a Group
To send a campaign to a one-off custom segment or a group within your audience, follow these steps.
- Select the audience you would like to send to in the Audience drop-down menu.
- Click Group or new segment in the Segment or Tag drop-down menu.
- Create the segment that you would like to send to.
- Click Save.
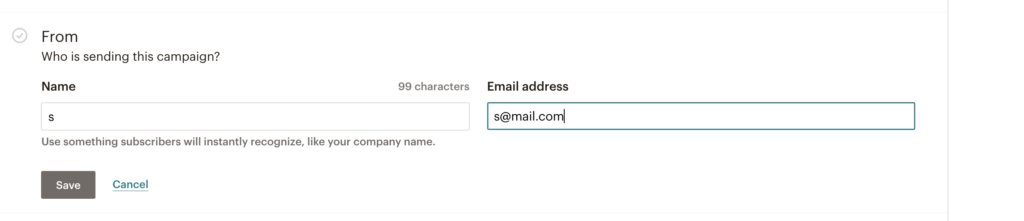
Add From Name and From Email Address
To Enter details of who is sending the campaign, follow these steps.
- In the From section of the email builder, click Add From.
- Enter your from name and email address.
- Click Save.
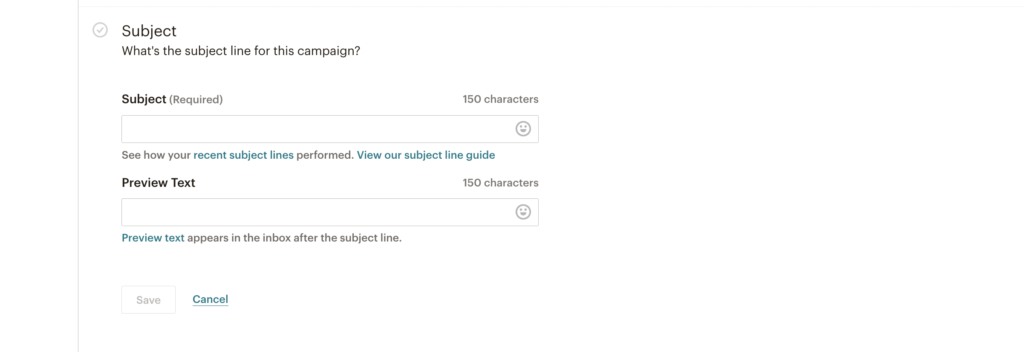
Add Subject
To set your subject line and optional preview text, follow these steps.
- In the Subject section of the email builder, click Add Subject.
- In the Subject field, enter a subject line for your email.
- In the Preview text field, you can enter up to 150 characters that will display next to your subject line in recipients’ inboxes. This field is optional.
- Click Save.
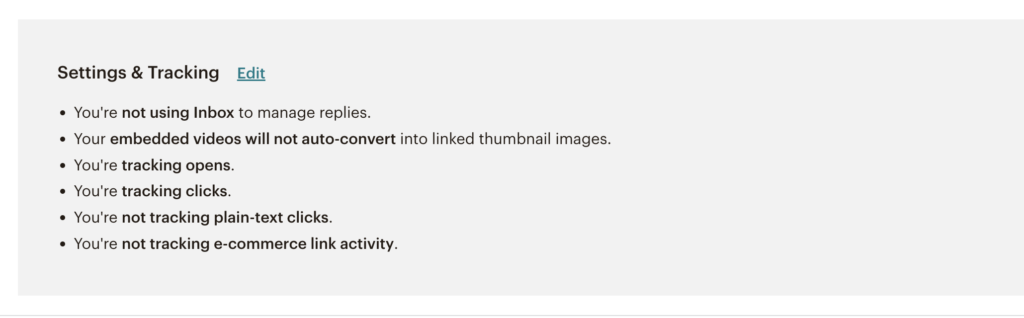
Settings and Tracking
When you create a regular email, we enable certain tracking options by default. This includes open and click tracking, as well as e-commerce tracking if you have a connected online store.
To edit your tracking options, follow these steps.
- Scroll to the Settings & Tracking section and click Edit.
- Check the boxes next to the tracking options you want to enable and click Save.
Send Campaign
After you’ve completed the To, From, Subject, and Content sections of the email builder, you should see a green checkmark next to each. That means your regular email is ready to send immediately.
If you’re ready to send the email to your subscribers, click Send on the top right corner of your campaign page. Then, in the Review Your Campaign modal, click Send Now to confirm your send.
And your campaign is shared!!!
To know how to begin with Mailchimp checkout, Effective Roadmap for Getting Started with Mailchimp.